
So you want to start a travel blog? Fantastic. Let us tell you how ours started.
Back in 2015 we were walking on a beach just before sunset in El Nido in the Philippines, and Steve said:
“Wait a minute, we travel so much, why don’t we start a travel blog!?”
“Em, I don’t know, isn’t there like a million travel blogs already!?” Sabina replied.
“Who cares, let’s just start one and see where it goes! Actually, let’s start a couple travel blog!”


Sunsets don’t get much better than that
Updated October 2026: an honest note before you start. We first wrote this guide in 2019, after three years of blogging and our first million visits. Our story below is unchanged, but the how-to has been rewritten for 2026, because blogging is a lot harder than it was then.
- Google sends fewer clicks: AI Overviews now answer many questions on the results page. A 2025 Pew Research study found people clicked a regular result on 8% of searches with an AI summary, compared with 15% without one.
- Generic content doesn’t rank: since Google’s helpful content and core updates of 2023 and 2024, first-hand experience matters more than ever, and many travel blogs lost a big share of their traffic.
- Ad networks are easier to join: Mediavine’s Journey programme starts at 1,000 monthly sessions from the US, UK, Canada and Australia, and Raptive now accepts sites from 25,000 monthly pageviews.
- Plan on years, not months: treat it as a long-term project with several income streams, not a quick way to pay for your travels.
Our story: from a beach in El Nido to a million visits
At the time, there weren’t many couple travel blogs around. Keep in mind this was 2015!
Starting a travel blog was one of the best decisions we have ever made. It helped us keep travelling, and it has let us help a lot of people who moved to Australia and Canada like we did.
By 1 December 2018 the blog had passed one million views. Here is the screenshot we took on the day:
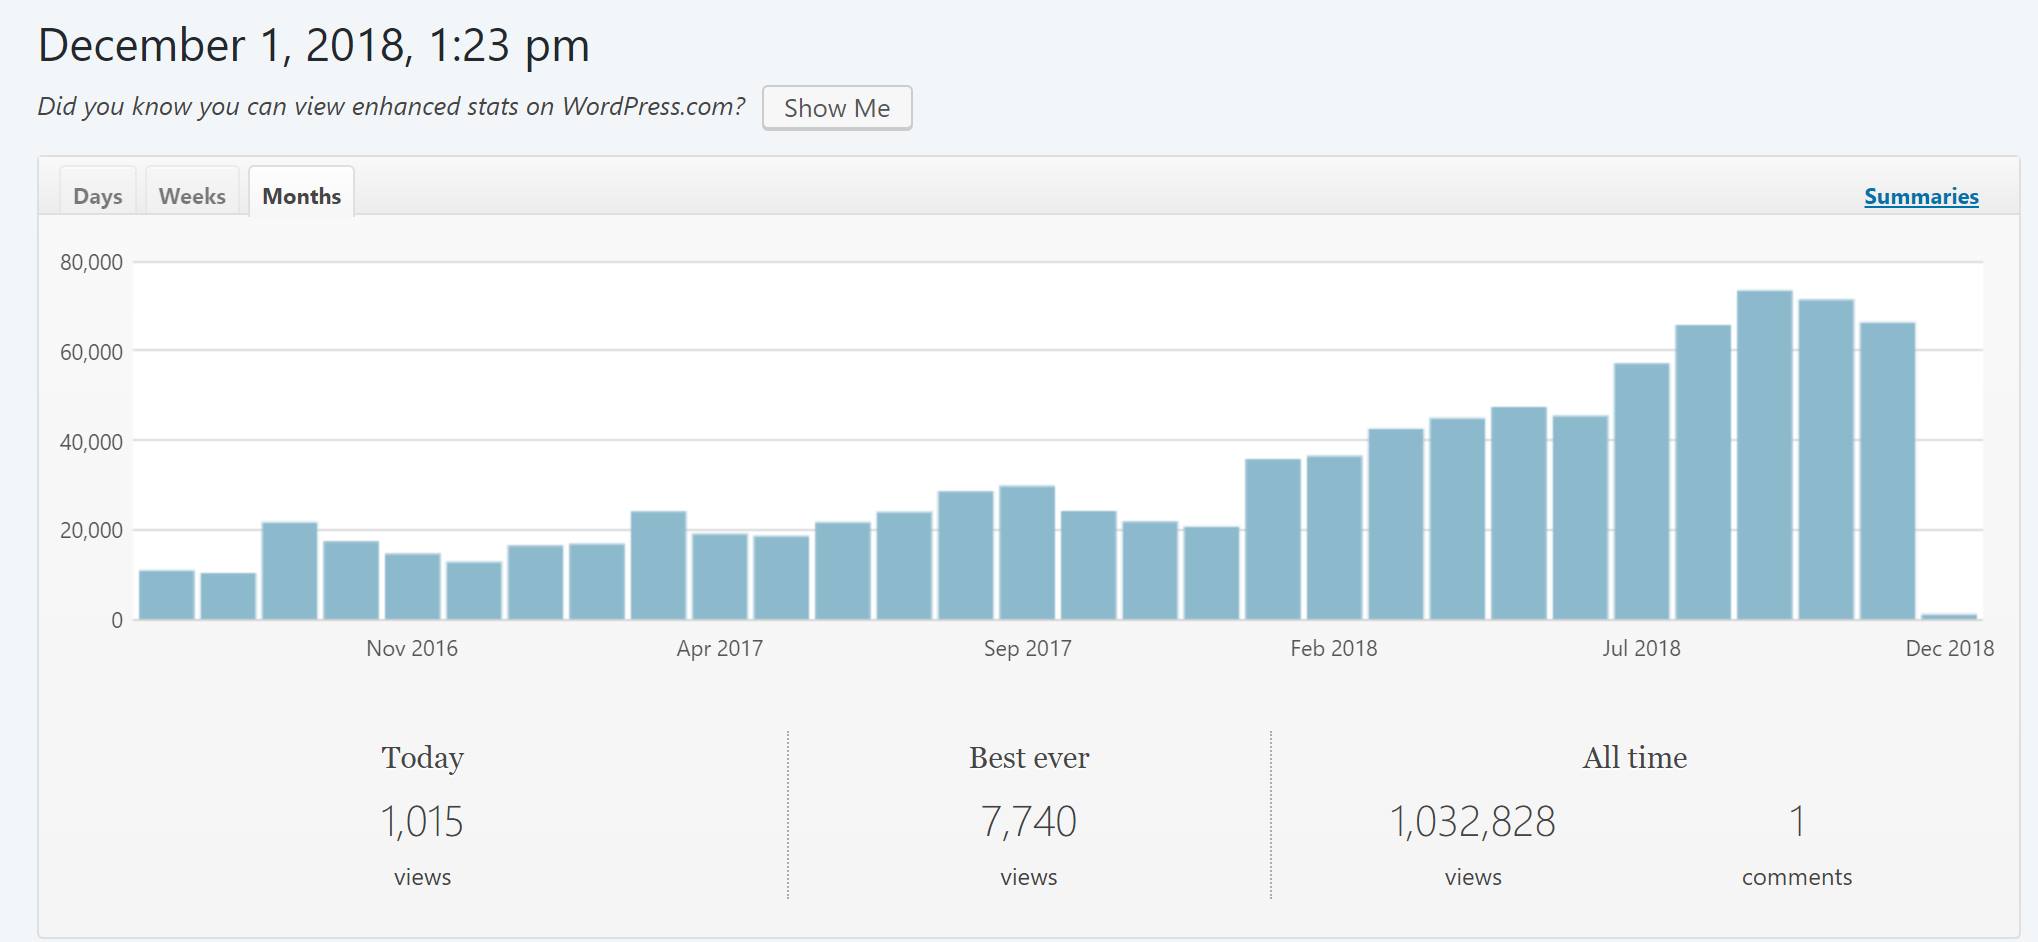
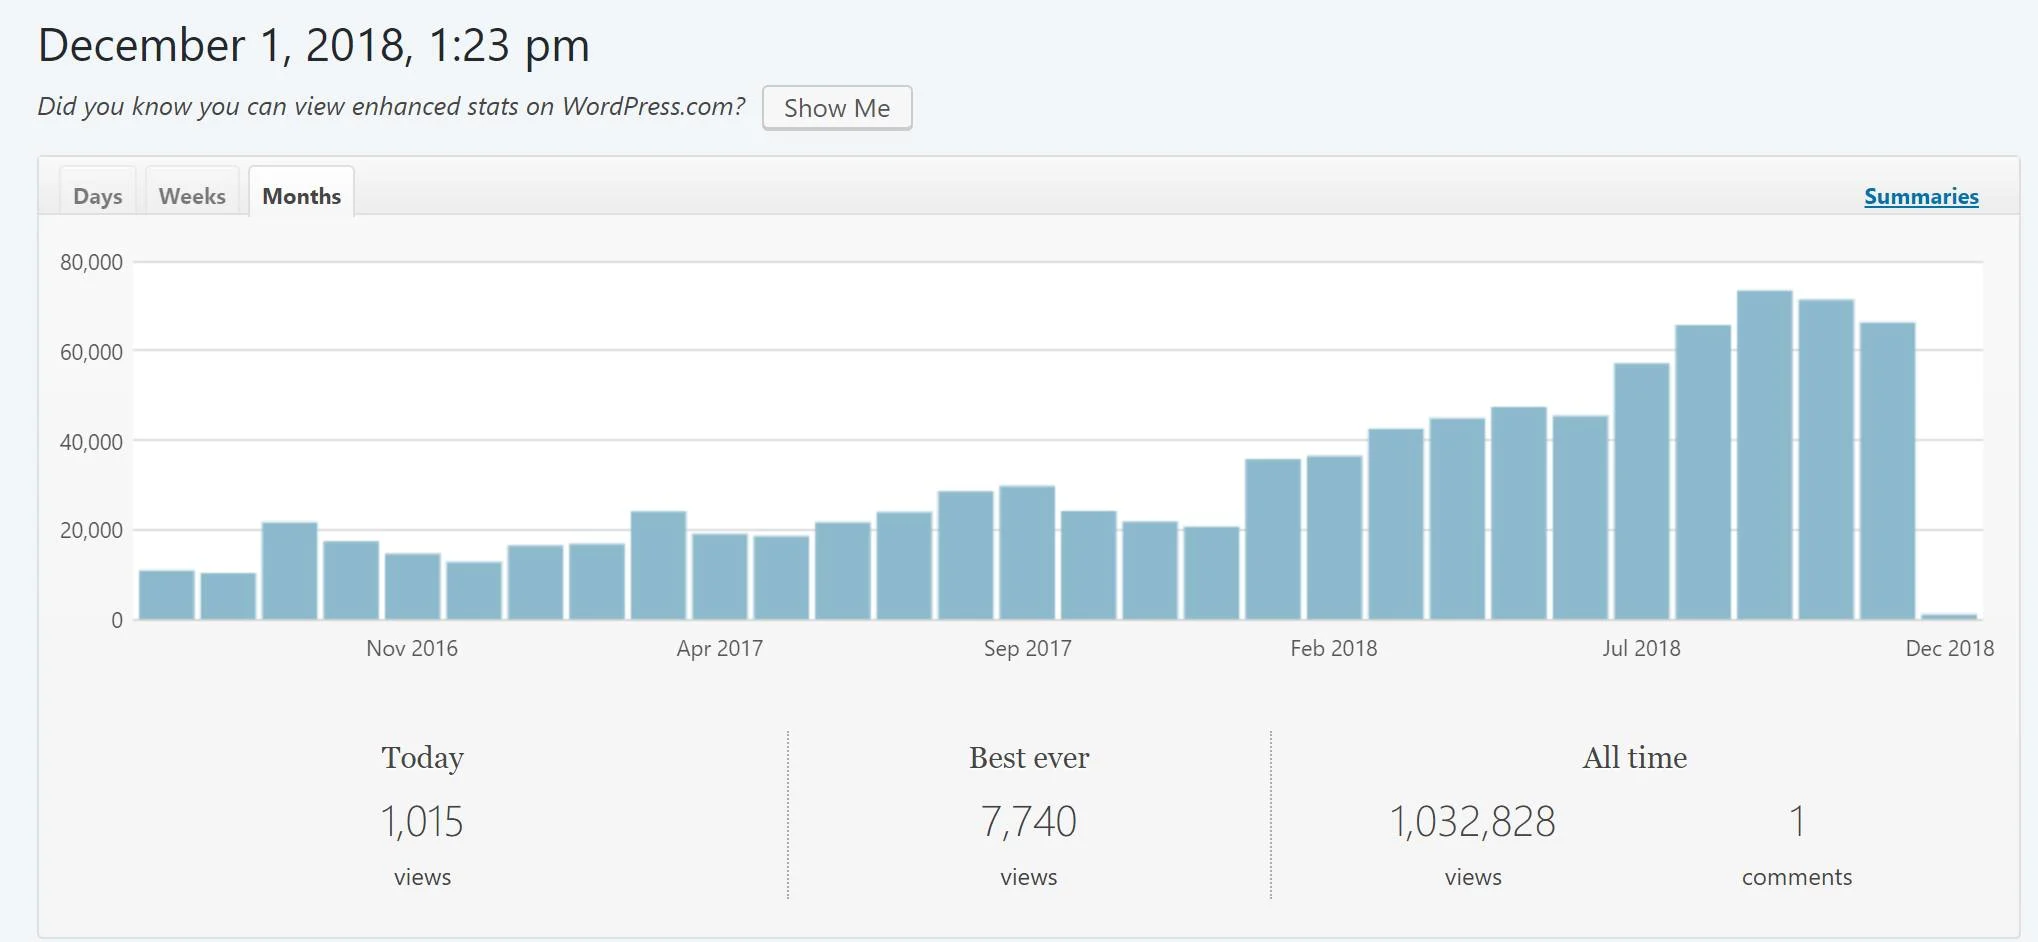
Our stats in December 2018, a little over three years in
Look at the left of that chart. For a long time we were stuck at around 15,000 to 20,000 visits a month, and we nearly gave up, mainly because we weren’t making much money from that traffic. It took until 2018 for things to really take off.
That was in an era when Google sent blogs far more traffic than it does now. So please read the rest of this guide with that in mind.
How did we come up with our travel blog name?
It was on that very beach in El Nido. The sun was setting, and Steve looked at Sabina and said something along the lines of:
“Sunset Travellers! That’s what we will call it!”
Sabina, looking very confused and thinking Steve had had too many Red Horse beers, said: “What are you talking about?”
“The couple travel blog! Let’s call it SunsetTravellers.com, hopefully the domain is still available!”
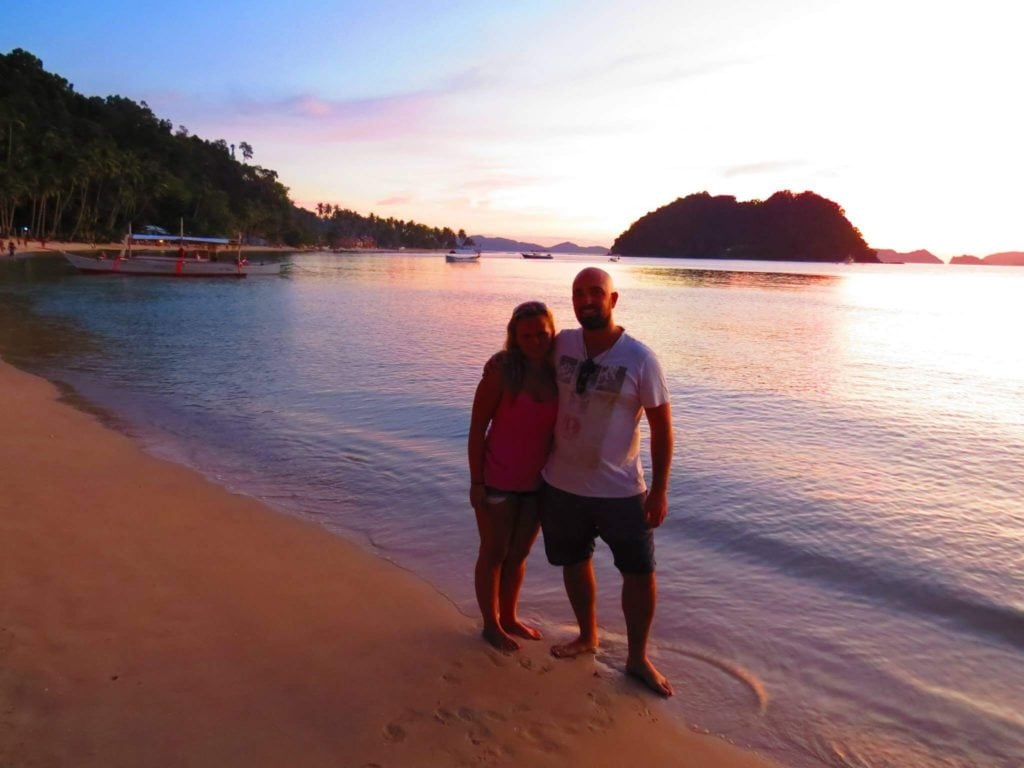
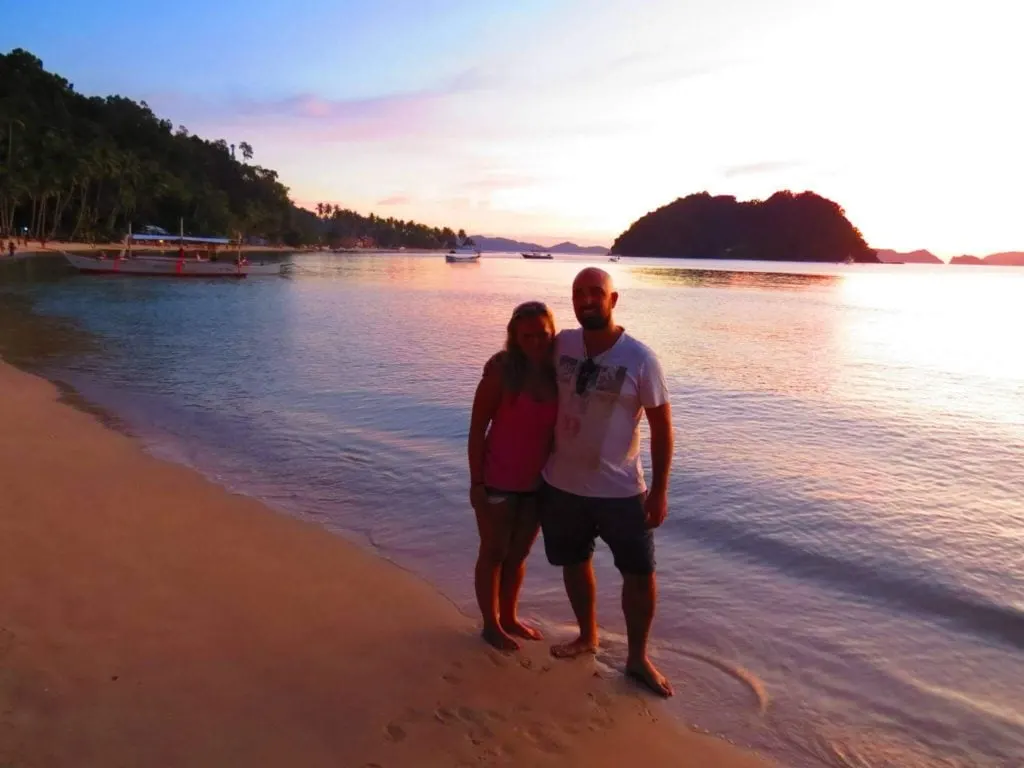
Steve thought of the name just after this picture was taken
We rushed back in a tuk-tuk and registered the domain in May 2015 with GoDaddy.
Which brings us to the first and most important step.
Step 1: Pick a damn good domain name


We were lucky that SunsetTravellers.com was available. Most of the time when you brainstorm a name, you check it and, bam, someone has already registered it. Here is what we have learned about picking one:
- Stick to .com if you can. It is still the extension people type without thinking. A country domain (like .ie or .com.au) is fine if your audience is mainly in one country.
- Avoid dashes and odd spellings. Imagine telling someone about your blog on a beach and having to say “no, it’s sunset dash travellers”. It gets old fast.
- Don’t use dates or ages, and think long term. You might be in your twenties now, but two20coolcoupletravelblog.com won’t age well (please don’t buy that domain, haha).
- Keep it short. One or two words is best, like NomadicMatt.com, ExpertVagabond.com or SunsetTravellers.com.
- Don’t box yourself in too tightly. A name tied to one country or one trip makes it hard to grow later.
- Check social media handles. Look at Instagram, TikTok, YouTube, Facebook and Pinterest before you commit. We got @SunsetTravellers almost everywhere, except Twitter, where we had to use @TravelSunset. It is not the end of the world if one is taken.
Need inspiration? Have a look at our list of couple travel blogs to follow.
Step 2: Get hosting and install WordPress
Yes, unfortunately, a proper blog costs money. Not a lot, but you will be paying for a domain and hosting every year before you earn anything.
We still recommend self-hosted WordPress (the free software from WordPress.org, installed on your own hosting). It is what this blog runs on, it gives you full control, and you can run ads and affiliate links however you like. Free blog platforms and free WordPress.com sites are fine for trying things out, but they limit what you can do and you will probably outgrow them.
Things to know about hosting
- Watch the renewal price. Hosts advertise a cheap first term, and the renewal is often double or more. Check the renewal price before you pay, not just the headline price.
- Paying for one to three years up front usually gets you the best price, and it is one less bill to worry about while you are getting started.
- You don’t need most of the extras. Hosts will try to upsell you. An SSL certificate (the padlock and https) is essential, but most hosts now include one for free.
- Daily backups and decent support are worth more than fancy features.
- Start small. Basic shared hosting is fine for a new blog. You can move to faster managed hosting later when the traffic justifies it.
Most big hosting companies offer one-click WordPress installs, which makes them an easy place to start. Hostinger and SiteGround are both popular with beginners. We host our other blog, Irish Around The World, with BigScoots, which is a great step up once your traffic grows. Shop around and read recent reviews, because hosting quality changes over time.
Once WordPress is installed, remember this address: yourawesomedomain.com/wp-admin. That is where you log in to write posts and run your site.
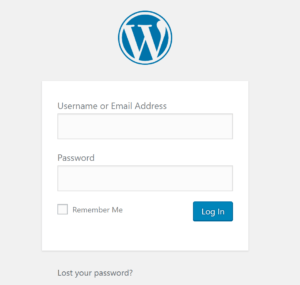
Yourawesomedomain.com/wp-admin
The great thing about WordPress is that if you are ever stuck, you can search your problem and someone has almost certainly had it before. Even after years of blogging, we still do this all the time.
Step 3: Pick a theme (and don’t overthink it)
Every WordPress site has a theme. Many are free, and premium ones cost a one-off fee or a yearly licence.
Do you need a premium theme? Not to start with. Plenty of successful blogs run on free themes.
What matters most now is that your theme is fast and works well on phones, because most of your readers will be on mobile. Pick something lightweight, with good reviews and recent updates.
Lots of people spend weeks hunting for the perfect theme when they could have been writing. And if you are doing this as a couple, expect arguments along the lines of “Oh my god, I found the perfect theme!” Our advice: just pick one and be done with it.
Step 4: Add only the plugins you need
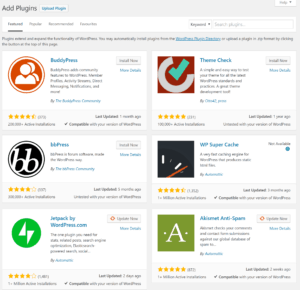
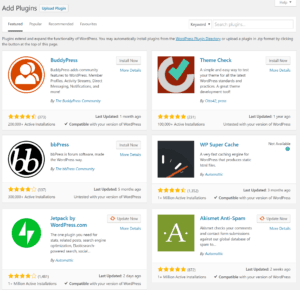
Plugins are like apps for your website. They add things your theme can’t do, like SEO tools, backups and security.
A word of warning:
- Every plugin you add can slow your site down.
- Updating lots of plugins at once can break things.
- Anyone can make a plugin, and some are badly built or abandoned. Check when it was last updated, how many active installs it has and what the reviews say.
The basics we would install today
- An SEO plugin: we used Yoast SEO. It helps with titles, descriptions and sitemaps.
- Backups: we used UpdraftPlus as a backup of our host’s backups. If your site ever breaks, you will be very glad of it.
- Security: we used Wordfence. Hackers are always looking for weaknesses, and it blocks most of them.
- Anti-spam: Akismet, or similar. You will get a lot of spam comments.
- Link management: Pretty Links turns long affiliate links into tidy ones like sunsettravellers.com/booking. It is still one of our favourite plugins.
- Speed: a caching and image optimisation plugin (many hosts include one) to keep pages fast.
What we have dropped since 2019
Our 2019 plugin list was long. A few things on it are no longer needed:
- AMP: Google stopped requiring AMP pages for its Top Stories in 2021. A fast, mobile-friendly theme does the job.
- A separate sitemap plugin: WordPress and SEO plugins like Yoast create sitemaps for you now.
- A separate minify plugin: caching plugins and good hosts handle this.
- Facebook comments: Meta switched off its Comments plugin for websites in February 2026, so use standard WordPress comments instead.
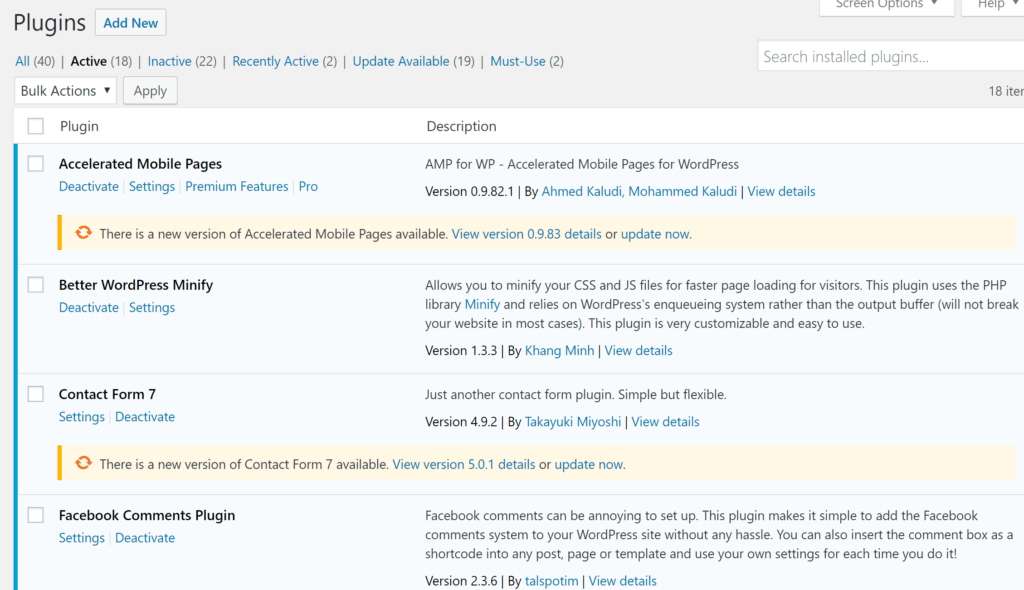
Some of the plugins we were running back in 2018
Step 5: Write about what you have actually done
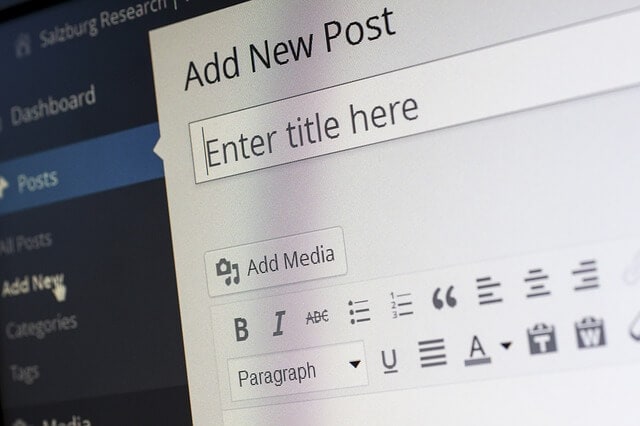
Our old advice still stands: just start writing. You will look back at your first posts in a year and cringe, but you have to start somewhere. Hit publish; nobody is watching yet.
What has changed is what works. Anyone can now get an AI tool to write “10 things to do in Lisbon” in seconds, and Google’s AI Overviews answer the simple questions themselves. So the posts worth writing are the ones only you can write:
- First-hand experience. Where you stayed, what it cost and when, what went wrong, what you would do differently. Google’s own guidance on creating helpful content puts a lot of weight on this.
- Your own photos. They prove you were there. Never take images from Google search; you can be sued for copyright infringement.
- Depth on a niche. Our most useful posts were never “top 10” lists. They were detailed guides on things we had been through ourselves, like moving to Australia and Canada on working holiday visas.
- Keep posts up to date. Prices, rules and opening hours change. Old, wrong information hurts readers and your rankings.
How many posts before you launch?
We see this asked over and over. Some people say 10 posts, some say 50. Honestly, it won’t matter if you start with 1 or 100. Nobody will notice when you launch. Growing a blog takes years, not weeks.
Step 6: Getting readers in 2026
This is where things have changed the most since we wrote the original guide.
Google search
Google was our biggest source of traffic for years, and it is still important. But it is much less reliable than it was:
- In September 2023, Google’s helpful content update hit thousands of small travel and niche blogs hard. In March 2024 that system was folded into Google’s regular core updates, so there is no longer a separate update to recover from.
- Since 2024, AI Overviews often answer a question at the top of the results, so fewer people click through to blogs at all.
- Big sites, forums like Reddit and video results now take up a lot of the space where blogs used to rank.
Search can still work for detailed, first-hand guides on specific topics. Just don’t rely on it alone.
Pinterest was a great source of traffic for us, and we used Tailwind to schedule pins. It still works for some travel bloggers, especially for evergreen guides and itineraries, but it sends less traffic to blogs than it used to and results vary a lot. Test it rather than assuming it will work.
Facebook groups and communities
Facebook groups, Reddit and forums are where travellers ask real questions. Be genuinely helpful there and only share links when they actually answer someone’s question. Dropping links everywhere gets you banned and doesn’t build anything.
An email list
If we were starting again, we would start an email list on day one. Google, Facebook and Pinterest can change their rules overnight, but your list is yours. We used AWeber; MailerLite, Kit and others are also popular, and most have free plans to start with.
Video and social media
Many new travel creators now start on YouTube, Instagram or TikTok and add a blog later. Short videos can bring people to your blog, and the blog is where you go into the detail. You don’t need to be everywhere; pick one or two platforms you actually enjoy.
Step 7: Making money (the honest version)
Back in 2019 we were making a full-time living from the blog, but it took about three years and a lot of work to get there. Today it is harder, and most travel blogs never earn more than a little pocket money. Here is how the money usually comes in:
- Display ads: the easiest income once you have traffic. Mediavine asks for $5,000 a year in ad revenue for its main programme, but its Journey programme accepts sites with 1,000 monthly sessions from the US, UK, Canada and Australia. Raptive lowered its minimum to 25,000 monthly pageviews in late 2025. Both have quality and traffic-location requirements too. Ad income depends on traffic, so when Google traffic drops, so does this.
- Affiliate links: you earn a commission when readers book or buy through your link, such as hotels, tours, travel insurance or eSIMs. It works best on posts where people are ready to book. Commission rates are often low and can be cut at any time, so always disclose your links and only recommend things you trust.
- Your own products: we wrote ebooks on moving to Australia and Canada. Guides, itineraries, presets or courses can earn far more per reader than ads, if you have an engaged audience.
- Sponsored work and freelancing: brand partnerships, writing and photography for other sites, and social media work. Many bloggers make more from this than from the blog itself.
The bloggers who are still doing well in 2026 almost all have a mix of these. If one income stream relies on one platform, a single algorithm change can wipe it out.
Useful tools for a new travel blog
Some of the tools we recommended in 2019 have been renamed or retired, so here is an updated list:
- Google Search Console and Google Analytics: free and essential. Search Console shows what people search to find you. (Google replaced the old Universal Analytics with GA4 in 2023.)
- Canva or Adobe Express (which used to be Adobe Spark): for featured images and pins. Most of our old featured images were made in Spark.
- TinyPNG: shrinks your images so pages load faster. One of our favourite tools.
- Grammarly: catches typos and clunky sentences. The free version is plenty to start with.
- Pixabay: free stock images if you are missing a photo. Use your own wherever you can, though.
- Fiverr: for small design jobs, like a simple logo, without paying agency prices.
- Google Workspace: email at your own domain ([email protected]). It costs a few dollars a month but makes you look far more professional when contacting brands.
- An email marketing tool: see Step 6.
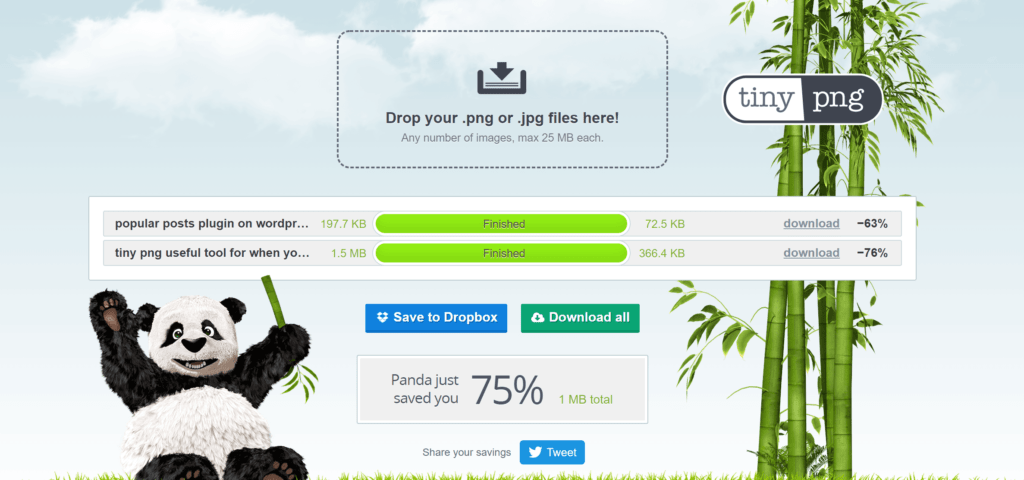
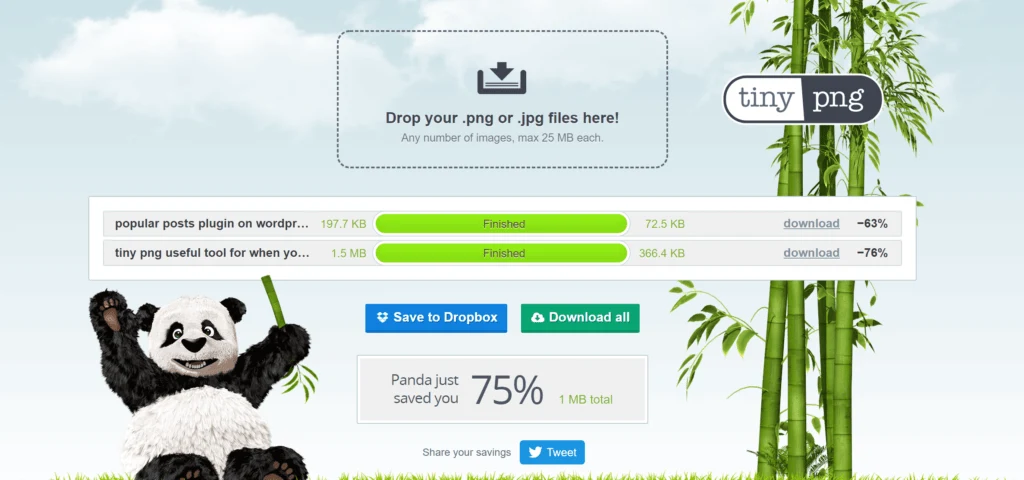
TinyPNG, one of our favourite tools
Final words on starting a travel blog
Starting a travel blog is the easy part. You can have a domain, hosting and WordPress set up in an afternoon.
Building an audience is the hard part, and it is harder in 2026 than when we started. It takes a lot of time, real experiences and patience, and success doesn’t happen overnight. It will be a long time before you even make a profit.
But we still think it is worth it if you love writing and helping people. We started with two Facebook likes and zero visitors on day one. Stick with it, write about what you know, build your email list, and don’t put all your eggs in one basket.
If this guide has helped, let us know. Good luck!
Planning your travel blog?
- WordPress.org: the free software this blog runs on
- BigScoots: the managed WordPress host we use for our other blog
- Hostinger or SiteGround: popular beginner hosting (check renewal prices)
- Google’s guide to helpful content: worth reading before you write a word
- Mediavine requirements and Raptive: the main premium ad networks
- Couple travel blogs we love, for inspiration
Steve and Sabina
Some links are affiliate links. If you use them we may earn a small commission at no extra cost to you.